Welding Automation: 7 Steps to Get Started
August 18, 2021

Congratulations On Your Decision
After much consideration, you’ve finally made the leap and decided to add a cobot to your production floor. Everybody is excited (as they should be) about the new addition to the team; a welding robot!
But now, what do you need to do next to get ready?
1 - Get Everybody On Board And Set Your KPIs
Getting everybody on the same page is one of the first things you need to do. Gather the team together to make sure everybody knows of the new addition to the team. This meeting is an excellent opportunity to address your team’s concerns and questions about the cobot welder. Answering everybody’s concerns will ensure that everyone will be as enthusiastic as you about the new addition.
As soon as everybody is up to speed, sit down with your team and set up Key Point Indicators (KPI’s). They’re basically expectations or goals that you want to track the performance of the cobot against.
An excellent point to start is to set the productivity level of the cobot to the same level as your welders. Since a robot can work more hours and deliver consistent quality, you’ll see an increase in overall productivity in the near future.
Knowing your KPIs is important because this allows you to see if the project is a success or not. So, keep tracking the results when the cobot arrives on your factory floor so that you can have a clear picture if it works or not.
2 - Decide on Which Task To Automate
You want to take a look at your welding process and decide which parts you want to automate. Remember, you can’t always automate 100% of your process.
You can choose monotonous parts to weld, taking them off from the hands of your welders. You can also select parts that need a high degree of weld quality. The cobots can make the welding seams more precise and uniform every time.
You also need to consider your parts sizes. Although a collaborative robot can certainly weld any size, the sweet spot is a smaller 4’ x 4’ piece that can easily be fixed on the welding table.
3 - Start Small First
At first, it’s not necessarily about going for your bottleneck or most significant return on investment (ROI). More often than not, those tasks will be more complex to automate. It’s not to say that ROI is not important. But for your first automation project, the better strategy is to get started and learn.
Throughout a short period, you’ll build your expertise and the confidence to automate more complex and valuable processes.
4 - Preparing the Jigs and Fixtures
Cobots need accessories to work repeatably. So you will also have to think about how you’ll hold your parts during welding. Those jigs and fixtures are meant to present the weld seam always at the same place since the robot is programmed to go back to that same place every time.
As a manufacturing company, you may have the resources to design and create your jigs. If not, you can always choose to outsource it to a machine shop. Your cobot supplier can also advise you on what type of jigs and fixtures are the best for the robotic welding cell and your production.
5 - Choose Your Welding Cobot Solution
Now comes the exciting part of choosing your welding cobot. The good news is that there are a few welding cobot solutions out in the market to choose from. But, how do you choose the best one for you?
- Choose a welding cobot that’s easy to use. Collaborative robots generally have the advantage of being easier than industrial robots. However, not all cobot welding solutions are using the same programming interface or functions. Look for an easy-to-understand graphical interface that even your welders can learn and use rapidly.
- Being able to demo the cobot welding solution you are looking at is also a plus. You can even have your welder to test the welding cobot and see if they can use it easily and if they like it.
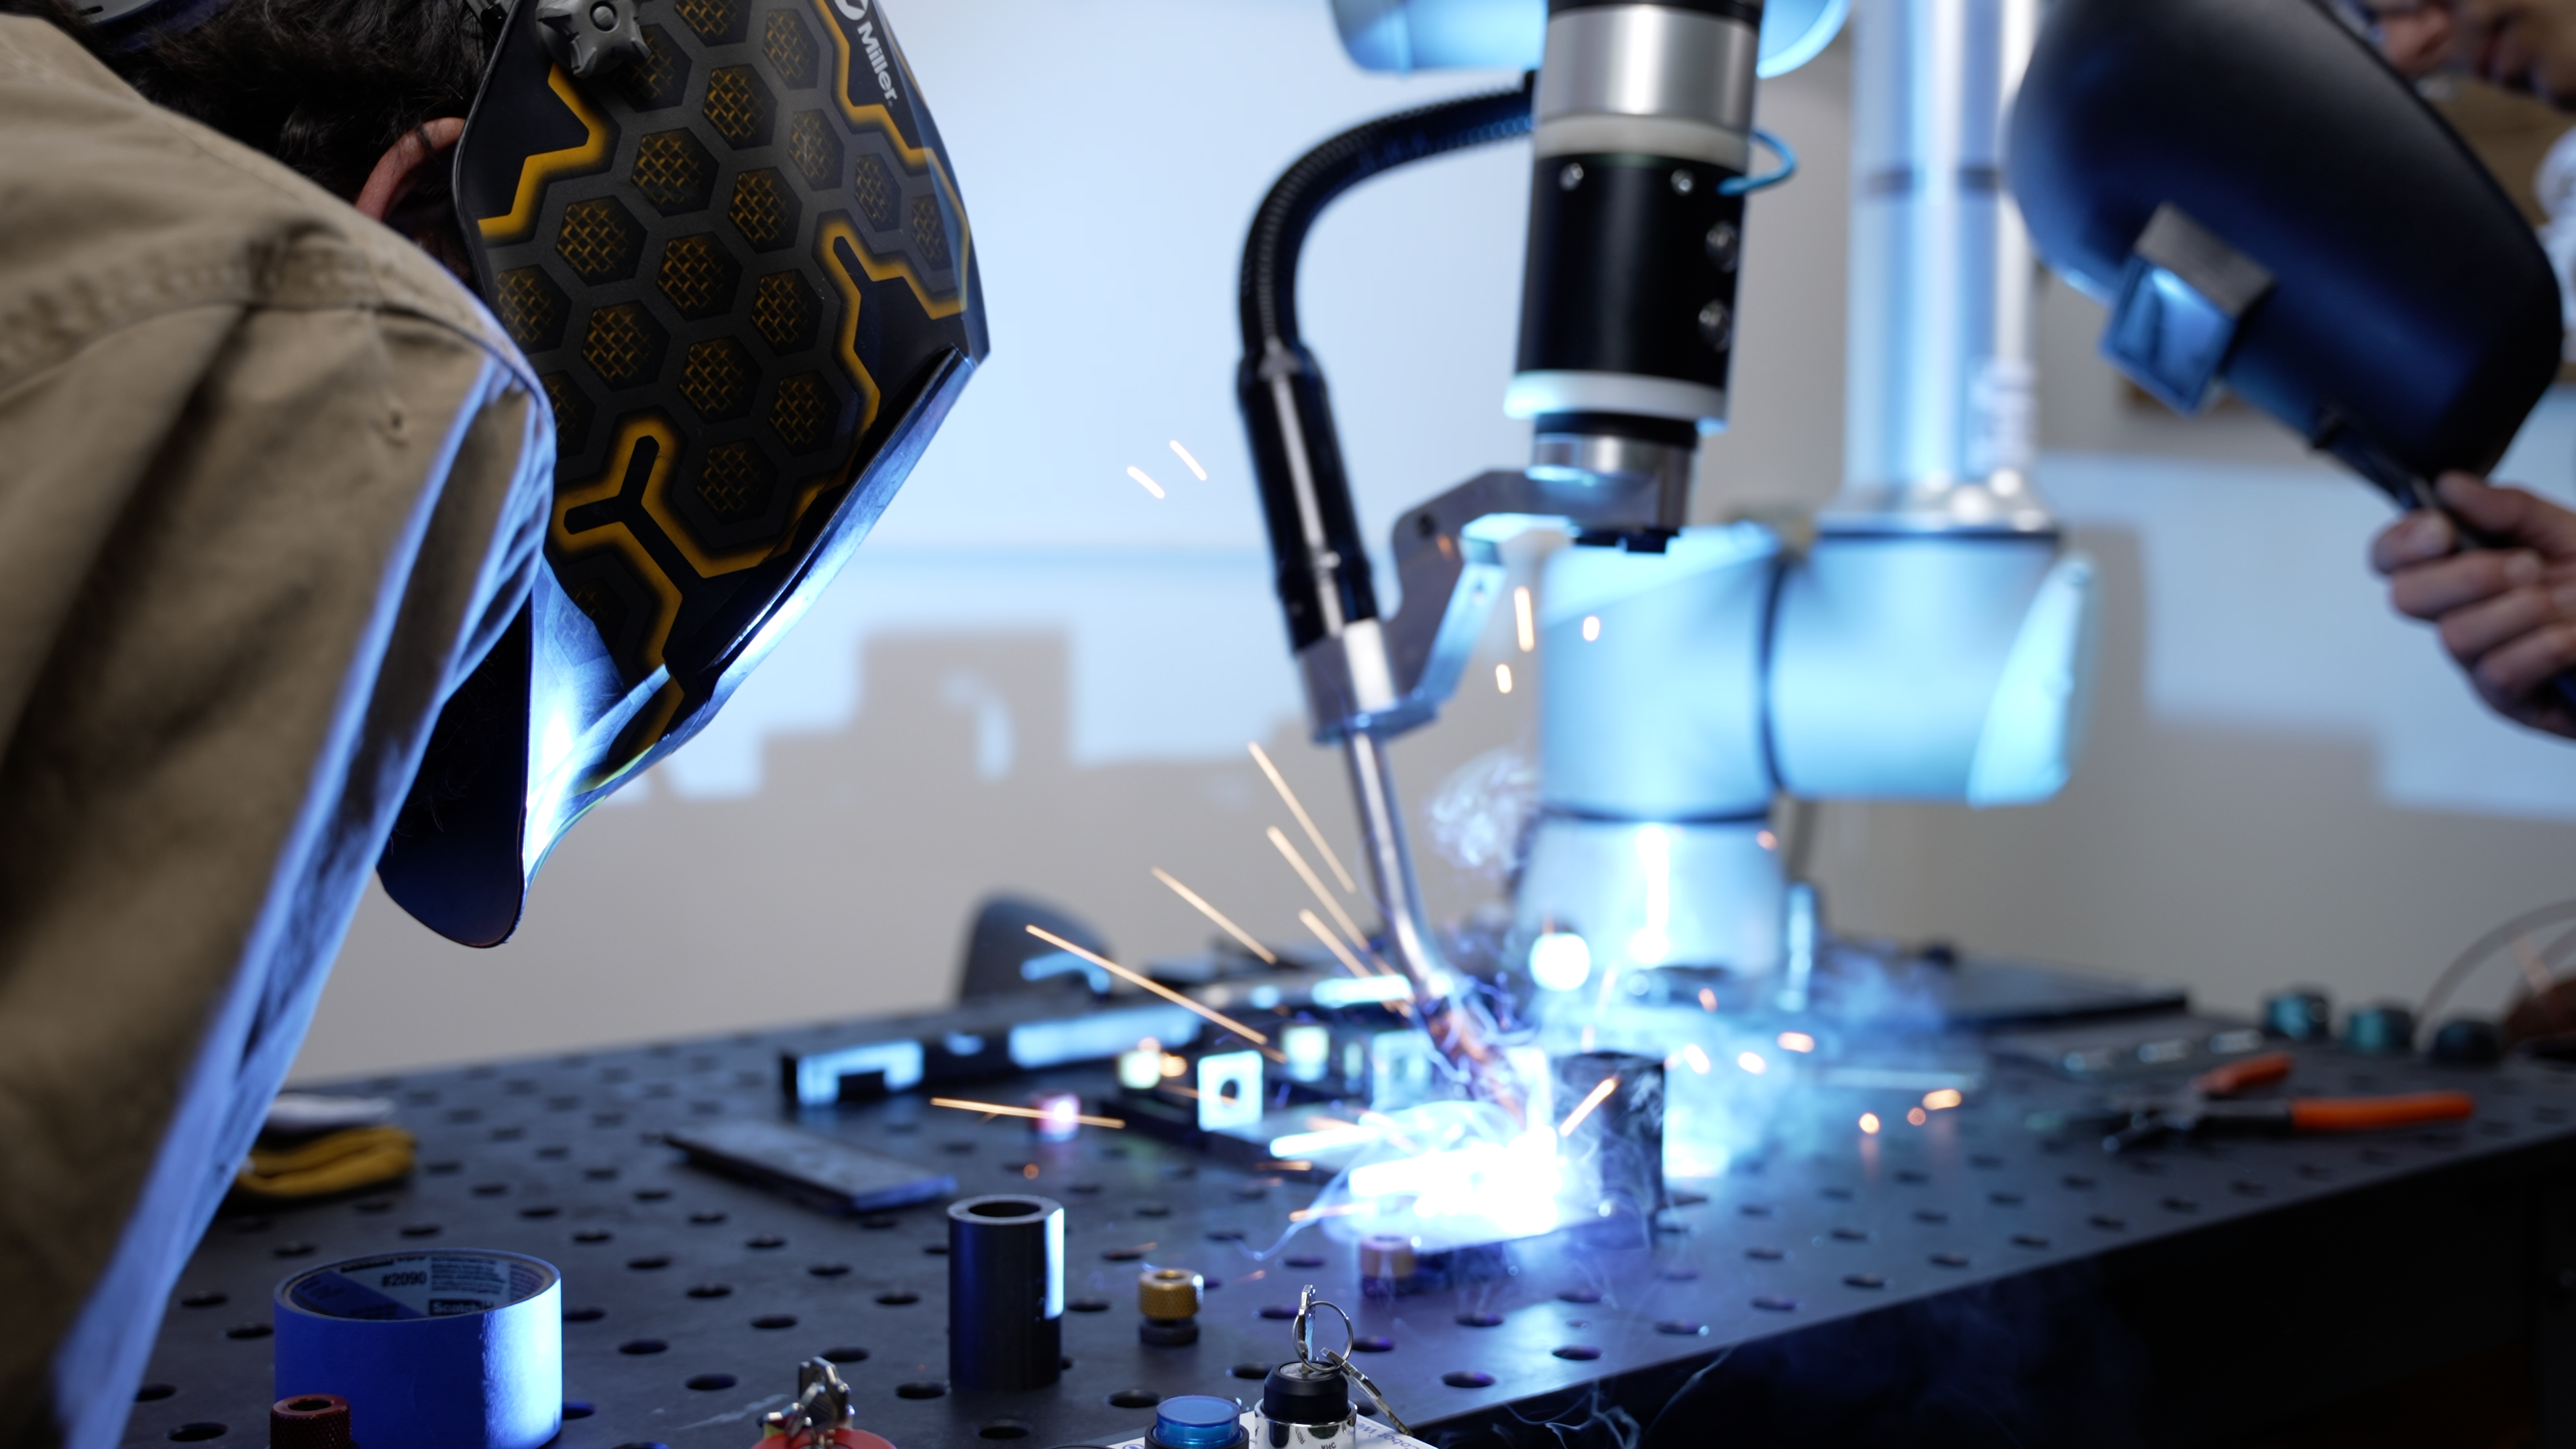
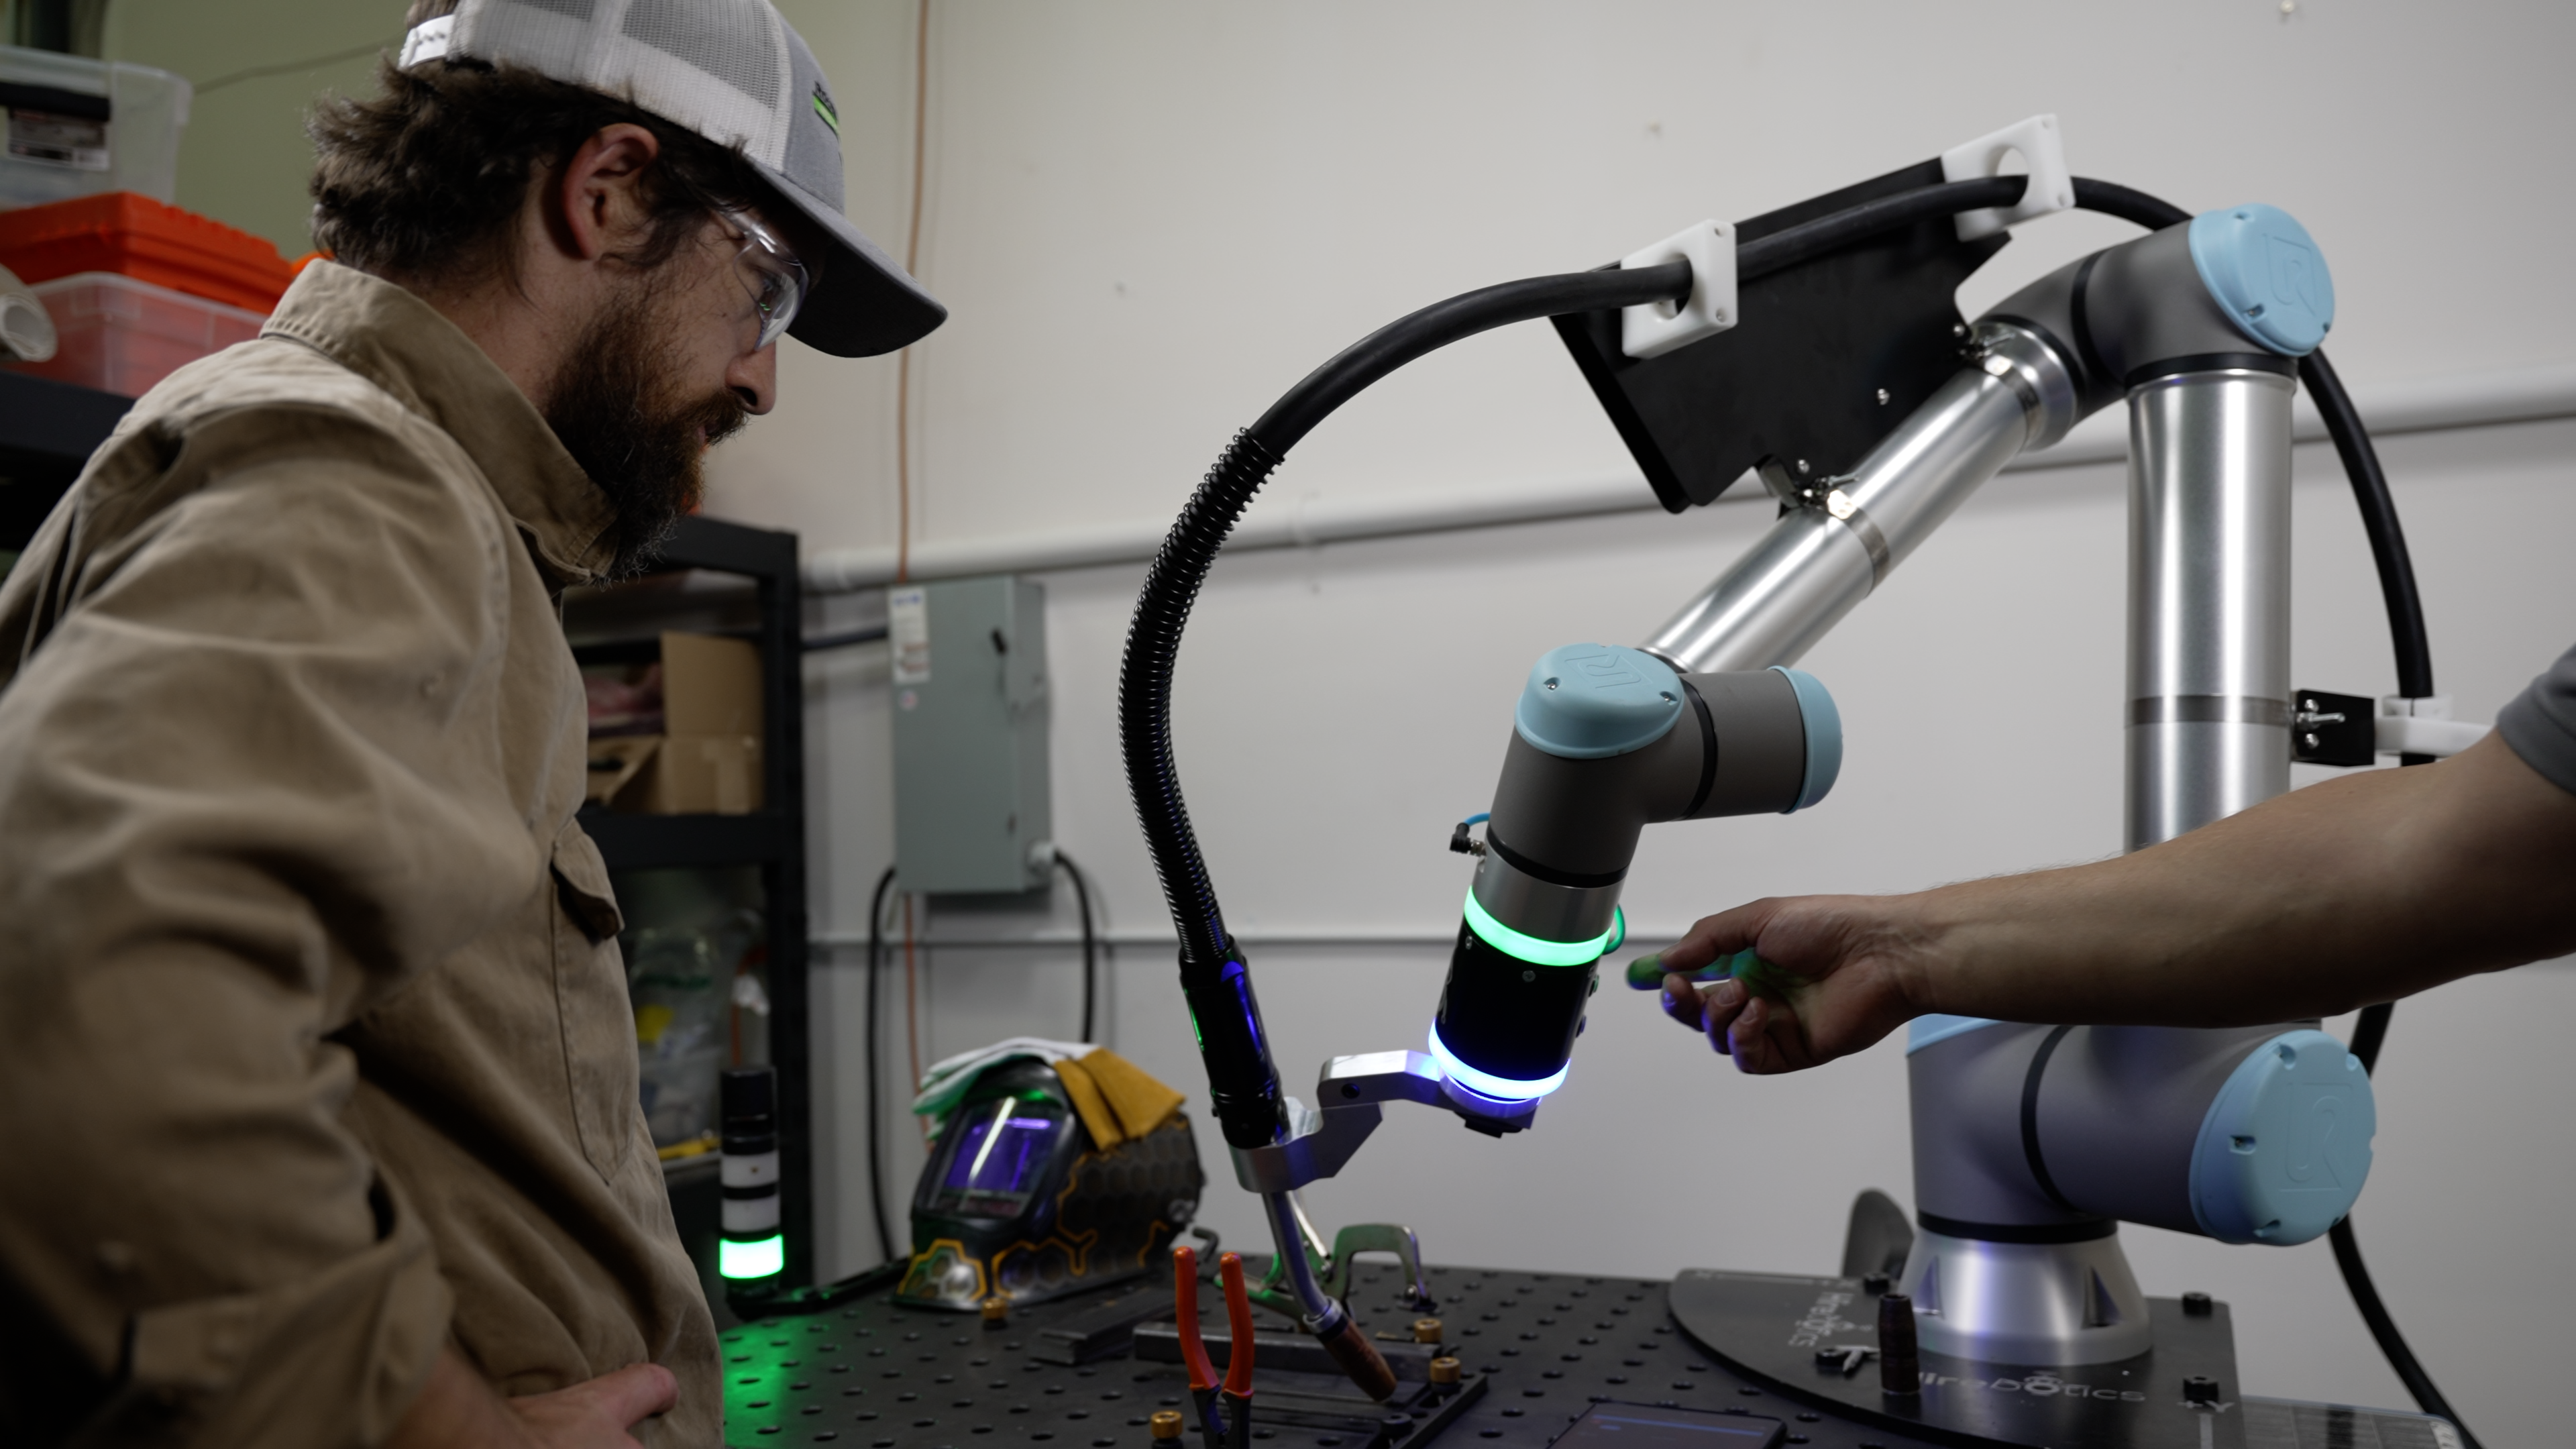
The Cobot Welder by Hirebotics is the easiest on the market to program. You are teaching the cobot through an easy-to-use app on a smartphone or a tablet. You don’t need to understand robot programming jargon. Instead, the app uses welding terms that are easy to understand for welders.
Moreover, the people of Hirebotics in Nashville will gladly take you to demo their Cobot Welder and have YOU weld YOUR part to show you how easy it is to do it.
6 - Train Your Welders
You want your welders to know how to operate the cobot. So training them will be important. Usually, the welding cobot supplier will be able to train your welders. As an example, with the Cobot Welder, this “training” takes no more than 20 minutes to get your welders up to speed.

You’ll also want to make sure to document this training. This way, you’ll be prepared if you are losing your primary robot operator. We saw this happen more than once, that the person with all the robotic knowledge did quit. The company then had to start from scratch in learning about robotics.
7 - Troubleshoot, Optimize, Repeat
Once your robotic welding cell is in production, you will have to make some adjustments to have a fail-proof program. It is part of the normal process to get a fully productive robotic cell.
Once you have addressed all the possible issues with your cell, the next step is to improve it. The goal is to achieve your targetted KPIs. For that matter, another important tip is to be able to track your robot performance. You can use the built-in software of the welding cobot you choose, if it applies, or add a data-tracking software.
![]()
When your cobot is performing to your expectations, it’s time to add more robotic welding cells to your factory floor for faster production and ROI!
Do you have questions about how cobots can integrate into your welding process? Contact us, and we’d be happy to help.


